How To Build A 24ft Polytunnel | First Tunnels
First Tunnels Polytunnels |
28 videos |
Updated 1 month ago
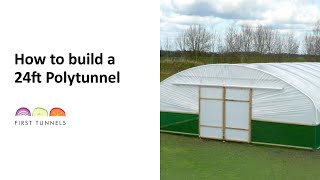
Unlock the potential of expansive gardening with our detailed playlist dedicated to constructing a 24ft polytunnel. This series is tailored for gardeners aiming to extend their cultivation space, offering thorough guidance on building a large, efficient, and resilient polytunnel.
The 24ft polytunnel construction journey begins with a solid foundation, crucial for the longevity and stability of your polytunnel. Our tutorials cover earth base options, allowing you to choose the best foundation according to your site and needs.
Moving forward, our playlist guides you through the assembly of hoops and the installation of corner stabilisers. These components are vital for the structural integrity and overall durability of the 24ft polytunnel. The addition of a central ridge and roof stabilisers further strengthens the structure, preparing it to withstand adverse weather and heavy loads.
The playlist also features in-depth instructions on installing crop bars and hoop storm braces, which are essential for maintaining the polytunnel’s form and protecting your crops from environmental stress. Detailed videos on fitting door rails and assembling both hinged and sliding doors provide easy access and improve the usability of your polytunnel.
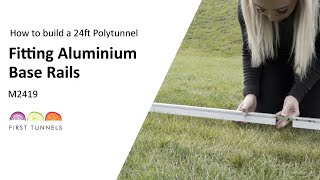
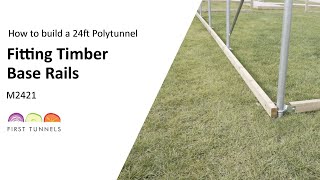
To ensure optimal growing conditions, we include detailed guides on fitting both aluminium and timber base rails, along with diverse side ventilation options. Whether you opt for timber side ventilation with or without screens, these features allow you to manage airflow and temperature effectively within the polytunnel.
The final stages of construction focus on securing the polytunnel cover. Our tutorials will take you through the process of fitting covers to timber and aluminium rails, employing trenching methods for a secure and enduring fit. Techniques for using anti-hot spot tape are also discussed to prevent wear and ensure the longevity of the cover.
By the end of this playlist, you’ll be fully equipped with the knowledge of how to build a 24ft polytunnel, ready to accommodate a wide variety of crops and conditions. Each video is crafted to provide you with the knowledge and tools necessary to achieve a professional-grade build. Subscribe to our channel now and begin your journey to a more productive and expansive gardening experience!
We demonstrate the following processes for a 24ft polytunnel procedure:
Foundations for an earth base
Hoop assembly
Fitting corner stabilisers
Central ridge installation
Fitting roof stabilisers
Crop bar assembly
Fit hoop storm braces
Fitting door rail
Staging support assembly
Twin support installation
Hinged door assembly
Hinged door frame assembly
Sliding door assembly
Sliding door frame assembly
Fitting aluminium base rails
Fitting aluminium side ventilation
Fitting timber base rails
Timber side ventilation without screen
Timber side ventilation with screen
Anti hot spot tape
Fitting cover to a timber rail
Fitting cover to an aluminium rail
Fitting cover in a trench
Secure hoops to foundations
Stay connected with us for more valuable gardening and polytunnel construction tips through our social media channels:
Facebook: www.facebook.com/Polytunnels
Instagram: www.instagram.com/firsttunnels/
X: twitter.com/FirstTunnels
Visit our website: www.firsttunnels.co.uk/
Explore our blog: blog.firsttunnels.co.uk/